
How to build a home studio

Studio microphones,audio interface and studio monitors are the three basic building blocks of your future studio. Home recording is clearly a trend today. The availability of equipment is much better today, and even lower-end studio equipment will provide you quality that is high enough to at least produce a successful demo recording. Want to set up your own studio? Go for it! It isn't complicated, and the results will certainly surprise you. To help you build and equip your home studio, we have prepared the following advice.
Our experts are on hand to help you make your choice. You can call us at 169 941 99 (Mon-Fri 9:00 a.m. - 4:00 p.m.) or send us your questions by email to
A recording is made in the following order: microphone ->audio interface -> studio monitors. Let's follow these same steps in explaining how to build a home studio.
Studio microphone
Large diaphragm condenser microphones are commonly used in studios. These are designed to capture each source of sound faithfully and in detail. Large diaphragm microphones are ideal for recording vocals, acoustic guitars, cabs or guitar combos, percussion instruments and more.
More information on choosing a microphone is available in our shopping advice under 'How to choose a microphone'.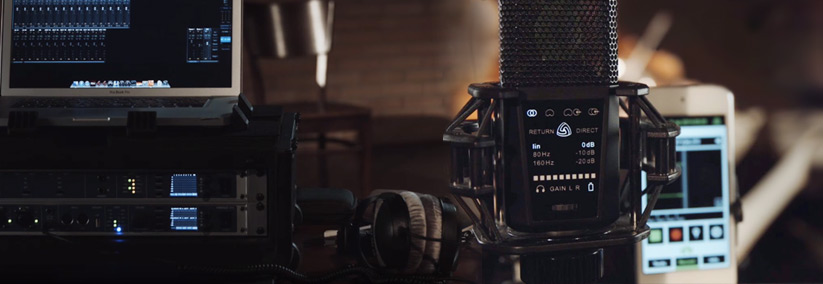
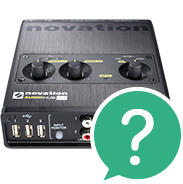
Audio interface
Another essential piece of equipment in the recording process is the audio interface, to which you connect the microphone, guitar, keyboards and any other instrument or sound source. The audio interface takes your analogue signal from the input cable and creates a digital track, which it then sends to the computer and your music program (DAW). The number of inputs is also an important sound card parameter. If you know that you will only be recording vocals and a guitar, a card with two inputs will suffice. But if you'll be recording more tracks (perhaps drums), you'll need more inputs.
More information on choosing a audio interfaces is available in our shopping advice under 'How to choose audio interface'.Studio monitors
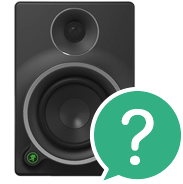
Standard speakers are not used for recording in the studio, not even in your home studio. Instead, 'studio monitors' are the preferred equipment. There is a huge difference between the two, and even studio sound engineers get annoyed when the right term is not used! Studio monitors are designed for close and critical listening. Their sound is balanced so that no frequency band is emphasised, giving you an accurate reproduction of your recording, which you can then edit and mix.
More information on choosing monitors is available in our shopping advice under 'How to choose studio monitors'.Music and editing software
As soon as you have a microphone, sound card and studio monitors, all you need is one more thing before you can start recording your first song: DAW or Digital Audio Workstation. This sophisticated term covers all computer programs used for work with music and editing on the computer. The studio standard is the Cubase program, whereas producers of electronic music prefer Ableton Live software.
Studio accessories
Your home studio will also need some basic accessories, especially cables. You will need an XRL microphone cable to connect your mike to the sound card. Sound cards are usually connected to the computer with a USB cable, which is usually included with your purchase, so that's one less thing to worry about. You will also need cables to connect your studio monitors to the audio interface. A symmetric 1/4" jack – XLR cables are ideal for this purpose.
If you plan to record vocals in your home studio, we recommend a microphone stand, a pop filter and an acoustic screen. This screen forms a semicircle around the microphone to prevent sound waves from bouncing around the room.